Windows are a crucial part of any home, and keeping them in good working order is important for both function and aesthetics. To make sure your windows are operating efficiently, it’s important to keep the window rollers in good condition. Window rollers are the small wheels that help sliding windows open and close smoothly. But since window rollers are exposed to dirt, dust, debris, and the elements, they can become damaged, rusted, or worn down over time. Worn or damaged window rollers can lead to windows that are sticky, difficult to move, or even more susceptible to falling out of their frames. Fortunately, replacing window rollers is usually a relatively simple DIY project that requires just a few tools and a bit of time.
How to Change Window Rollers
- First, before attempting any home repairs with your window, always remember to first check any documentation that came with your windows. Home repairs can often result in a voided warranty, so keep that in mind before you begin.
- Once you’ve reviewed your paperwork, start the process by removing the window sash to access the window roller. To do this, release the latch if applicable. Once the latch is released, you should be able to remove the window sash by grasping the window on both sides and lifting it straight up while simultaneously tilting it out. (Note: if your window has connected rollers, they may need to be moved to the window frame’s edge before you can remove the window.)
- Now you should be able to examine your window rollers. If they’re damaged, cracked, or rusted, they’ll need to be changed and replaced.
- Depending on the age and type of your window, you may need to try a few different techniques to remove the old window roller. If the window roller is able to move back and forth, you may be able to remove it by hand, or by using a screwdriver to ease it out. Some windows may have a stop bead holding the roller in place; if so, you will need to remove the stop bead by gently prying it off with a screwdriver. Once the stop bead is removed, you should be able to pull the roller out of the window frame.
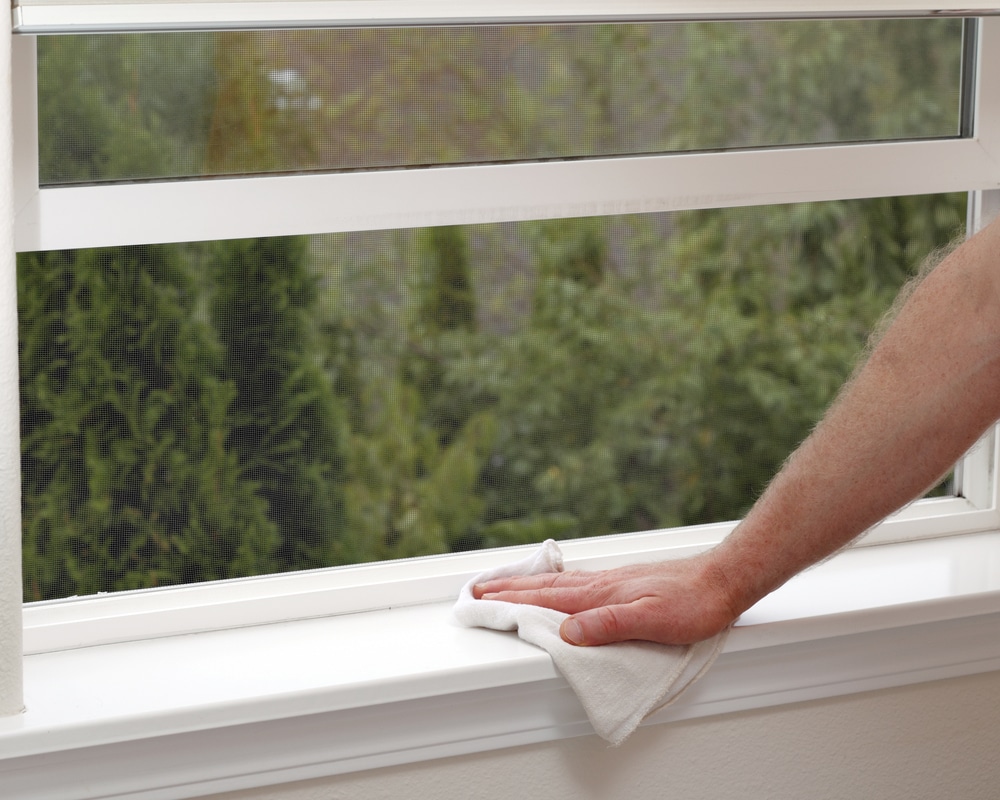
- Next, you’ll want to do a thorough clean out of the window track. Use a vacuum cleaner with a brush attachment to remove any dirt, dust, or debris from the window track. If there is any build-up on the track, you can use a damp cloth to wipe it away.
- Once the old rollers are removed, you should again review your window’s paperwork to ensure that you purchase the right type and size of replacement roller.
- Once you have the correct replacement roller, you’ll install it by inserting it into the track and then screwing it in place. Make sure that the roller is secure before moving on to the next step.
- Replace the window sash, guiding it onto the roller.
- Finally, you will need to test the new window roller to make sure that it is working properly. Open and close the window a few times to see if the roller is moving smoothly and without any resistance. If you notice any issues, such as the roller getting stuck or not moving smoothly, then you may need to adjust the stop bead or screws or add more lubricant. If that doesn’t solve the issue, you may need to try a different type of roller.
If you get stuck at any point along the way, or if changing your window rollers doesn’t solve the issue, give us a call any time. Our window experts are always happy to help.
Are you in need of high-quality window installation? Check out American Window Company. Since 1999, we have offered an extensive collection of high-quality windows, doors, shutters, blinds, and more. We are a small, family-owned business that is committed to providing excellent workmanship and on-time installation. In addition, we are properly licensed and insured to protect our employees and provide our customers with peace of mind. For a free estimate or more information about our products and services, please contact us today.


